Description
Instructions on signing into common web browsers like Google Chrome or Firefox and enabling sync. Sync will allow you to share history, bookmarks, etc. across devices.
Instructions
Google Chrome
- Open Google Chrome.
- In the top-right corner, you’ll see a circular object with a similar icon. If you’re already signed in, this will be your profile picture.

- Click the icon and you’ll be prompted to Turn on Sync…

- Click the button and you will be redirected to a sign in page. Sign in with your MEID@phoenixcollege.edu.

- You will be redirected to the MCCCD sign-in page. Sign in with your MEID@maricopa.edu as you would normally.

- You’ll then be redirected to a Google prompt ensuring you’re signing into the right account. Click Continue if this is correct.

- Once complete, you will be prompted by a box to add your account to the browser. Click Continue.

- You’ll then see a box prompting you to turn on sync. Click Yes, I’m in.

- You have successfully signed in and enabled Sync on Google Chrome.
Mozilla Firefox
- Open Mozilla Firefox.
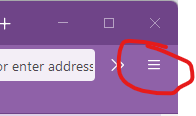
- At the top-right corner of your browser, you will see a menu like below

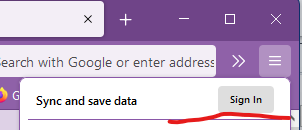
- Upon clicking, you will see an option to Sync and save data...

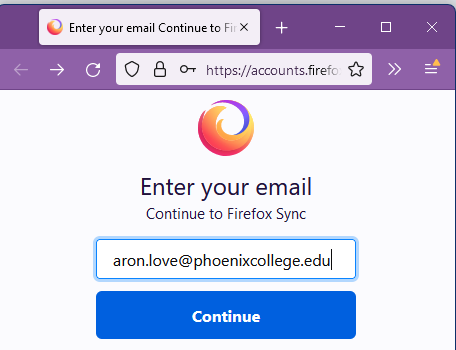
- Once clicked, you’ll be presented with a window like this, enter your work email. Click Continue.

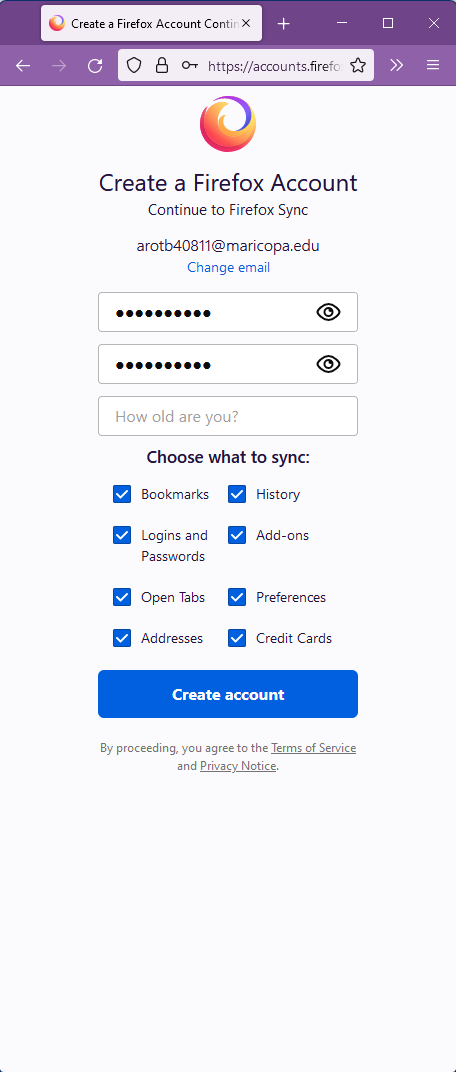
- Enter a password and confirm it, and enter your age so Mozilla knows you are old enough to register then click Create account.

- You will receive an email with a code, enter that code on the final page to complete the process.